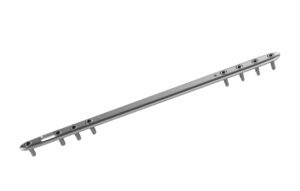
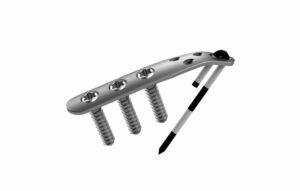
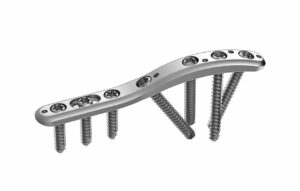
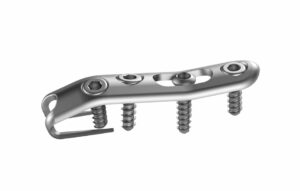
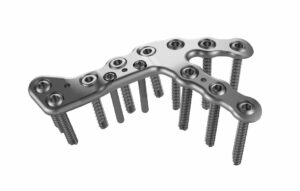
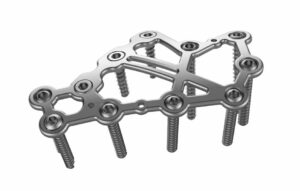
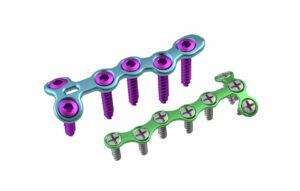
Bearing Bridge Plate TriMed Surgical TechniqueSurgeon Surgical Technique Read More “Bearing Bridge Plate”
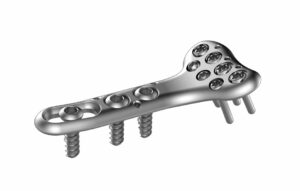
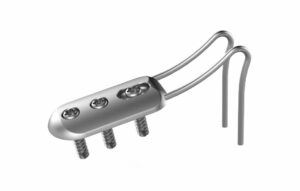
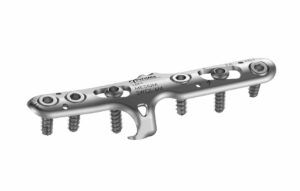
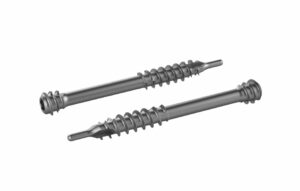
Fusion Cup – Lower Extremity Comprehensive TechniqueFoot Technique Read More “Fusion Cup – Lower Extremity”
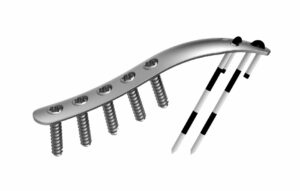
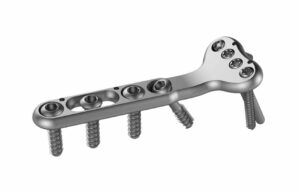
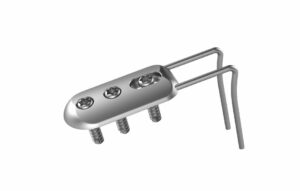
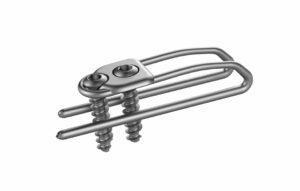
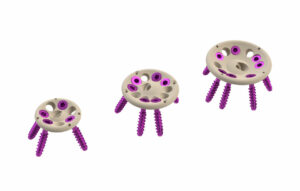
Fusion Cup – Upper Extremity Surgical TechniqueHand TechniqueSTT Fusion Read More “Fusion Cup – Upper Extremity”